
Saving seeds is an extremely easy thing to do once you know how. To me, peppers are the easiest. Simply cut the pepper open, scrape the seeds onto a plate or the counter, rinse them and lay them out on wax paper! Easy! Some vegetables require a little more effort, like a pumpkin or squash. They are a bit messier to collect and need a more thorough washing than pepper seeds, but well worth the effort when you don’t have to buy seeds in the spring. Tomatoes and cucumbers can be the most tricky when it comes to retaining viable seed, but don’t be afraid to try to do it, it’s easy once you get the hang of it. In order to grow the same type of plant in the spring that you are saving seed from, be sure to only save seed from Heirlooms. Saving seed from any form of Hybrid will result in a different type of plant. Hybrid seeds are not good for saving. We only save organic Heirlooms to be worth our time and effort, not to mention we believe in eating only pure food, not something that has been created in a laboratory.
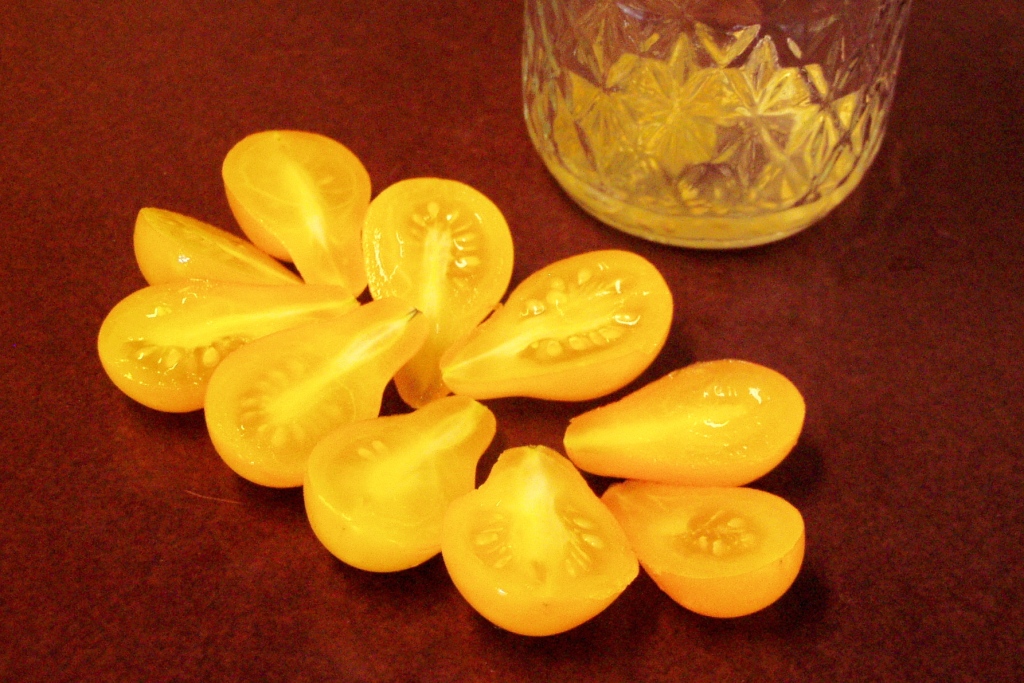
Here is an example where I used Yellow Pear tomatoes. The same process works with any tomato and cucumbers too. For this batch, I halved the tomatoes and
scooped out the seeds and juice into a small jelly jar. The shells were then dried for use on pizza, soups or whatever else I make during the winter that I can use them in. Always, ALWAYS collect your seed from your best looking produce.
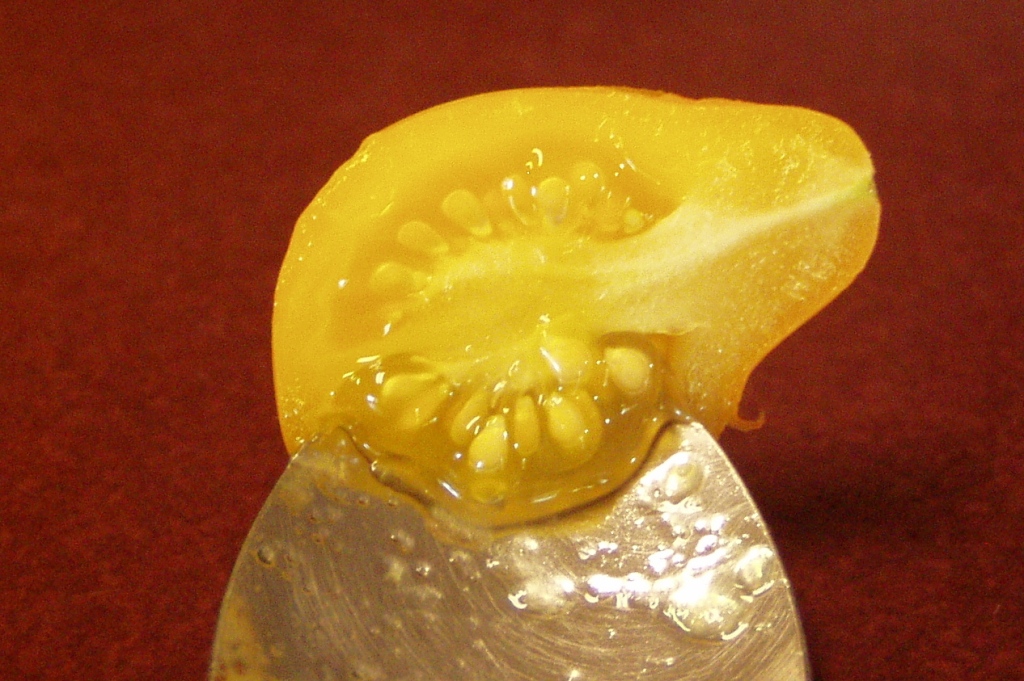
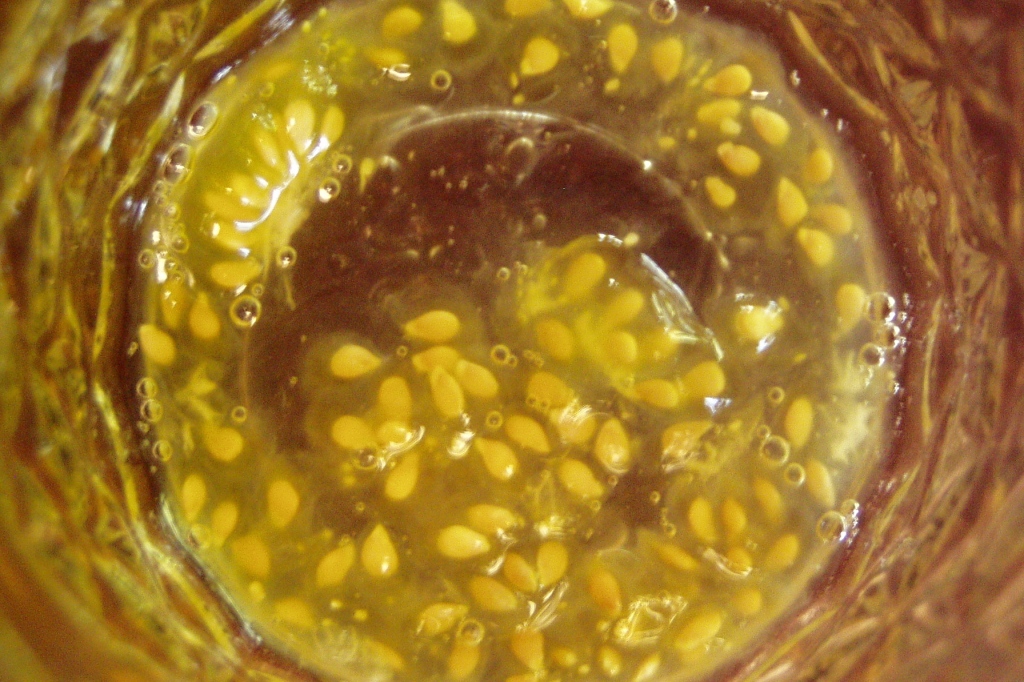
Once I have collected all of the seed that I want to save at the moment, I add a small bit of water. For example, if I have 1/2 inch of seeds and juice in the bottom of the jar, I’ll had another 1/2 inch or so of water to it.
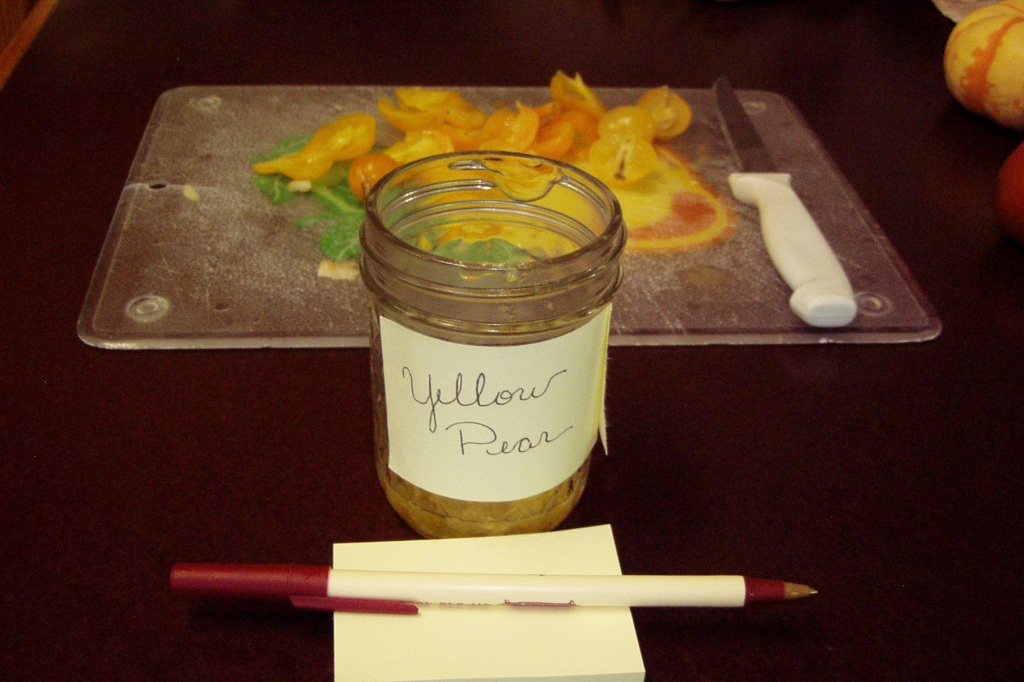
Always label your jar with what type of seed you have in it. We save seed from many different heirlooms and at any given time, you will find many jars in our kitchen or greenhouse. Without the labels, I would be lost!
Let the seeds set in the jar or cup for at least three days. It will depend on how warm the weather is, but you will begin to see a mold growing over the top of the liquid. The seeds are fermenting which is what is needed for you to have viable seed for both tomatoes and cucumbers. It doesn’t look very pretty and sometimes doesn’t smell very pretty either, so you might want to pick a place on your porch or deck to leave them undisturbed instead of your kitchen.
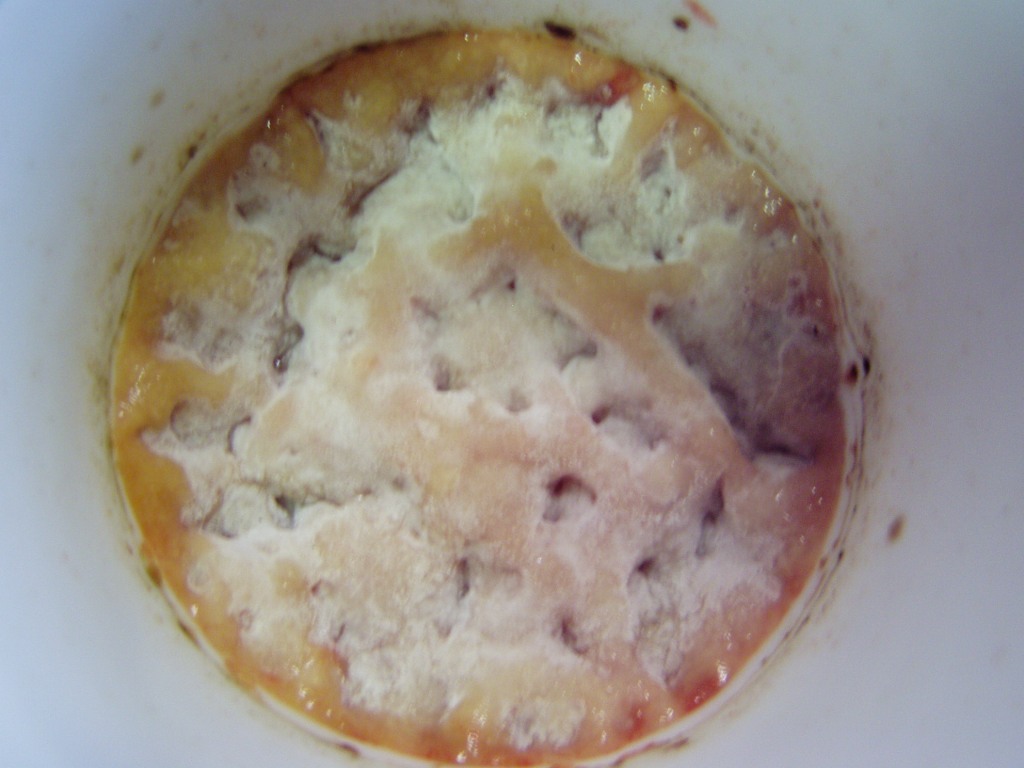
I forgot to take a picture of the Yellow Pear seeds fermenting so here’s one of some other tomato seeds that have fermented in a cup. Not all batches will create this much mold, but some do. Don’t think you need this much for them to be good. A good three to four days on a warm summer day will work just fine.
At this point, I simply lift the mold off and drop it into the garbage disposal. Any seeds that aren’t any good will have come to the surface and possibly be attached to the mold. Pour the remaining seeds and liquid through a small mesh kitchen sieve. It needs to be small enough to catch the seeds. My husband created one made of window screen for me to use. (Thank you honey!) Run water through the seeds until they are clean. The seeds will stick to anything at this point from being wet, so carefully turn them onto a sheet of waxed paper that you have labeled. Spread them out and let them dry.
It may take several days up to a week to make sure they are good and dry. Dry them in a protected area inside the house so the wind doesn’t blow them around and so birds can’t get to them. Once you are sure they are good and dry, sort them to remove any that don’t appear good. Pour them into a labeled seed envelope and store in a cool dry place.
Saving seed is so much fun. Knowing where your seed comes from and providing for yourself is a great feeling. Passing the craft down to our daughter is extra satisfying, knowing she knows how to raise a garden and provide food for her own future family and to be able to teach her children the art is very important to us. Just to think, her children may even pass it down to their children using the same seed from what we save today! What a legacy to give to your family!
If you have any questions, simply leave a comment and I will be glad to answer them as best I can.
2 comments:
I have recently tried saving seeds using a method very similar to yours...except the directions I followed advised to close the lid on the jar and leave them for a week or longer. They never got moldy...go figure. I live in a colder climate and I've read that might inhibit mold growth? I rinsed the seeds after awhile anyway, and bc they soaked for so long the outer jelly like coating came off, so I was hopeful. I dried them and they are quite clumpy and not so brittle. They sort of look like they have a very fine salt coating too. Will these seeds grow? Can I put them back in a jar and try fermenting your way? I hate to lose the seeds..these were my best tomatoes.
Even though you did not have any sign of mold, I really think you will be successful with your seeds. Are they clumped because they weren't spread out to dry? If they aren't spread out, they will be clumpy. Simply break them apart and make sure they are completely dry before storing them. The coating you see is also normal. I would not try to referment them, they might actually sprout at this point. The type of tomato doesn't matter when it comes to saving seeds, however, I'm curious what type of tomato you are so pleased with. I always like to hear what others are growing and which are their favorites!
Post a Comment